How to Reseal an Aquarium
As a fish aquarium enthusiast, I know just how important it is to maintain the tank to keep your fish healthy and happy. One of the most common issues that come with owning an aquarium is leaks. A leaky aquarium can be dangerous for the fish and can lead to water damage in your home. That’s why it’s crucial to know how to reseal an aquarium properly. In this article, I’ll be sharing my expertise on how to reseal your fish aquarium step by step.
What Causes Leaks In Aquariums?
Before we dive into how to reseal an aquarium, let’s understand what causes leaks in the first place. There are several reasons why a fish tank can leak, such as:
- Age of Aquarium
- Using Incorrect Sealant
- Poor Aquarium Glass Quality
- Incorrect Cleaning Procedures
- Physical Damage
Step By Step Guide On How To Reseal an Aquarium
As an aquarium enthusiast, I’ve come across my fair share of leaks in my tanks. Here’s my step-by-step guide to resealing your fish aquarium.
Step 1: Empty Your Aquarium – (How To Reseal an Aquarium)
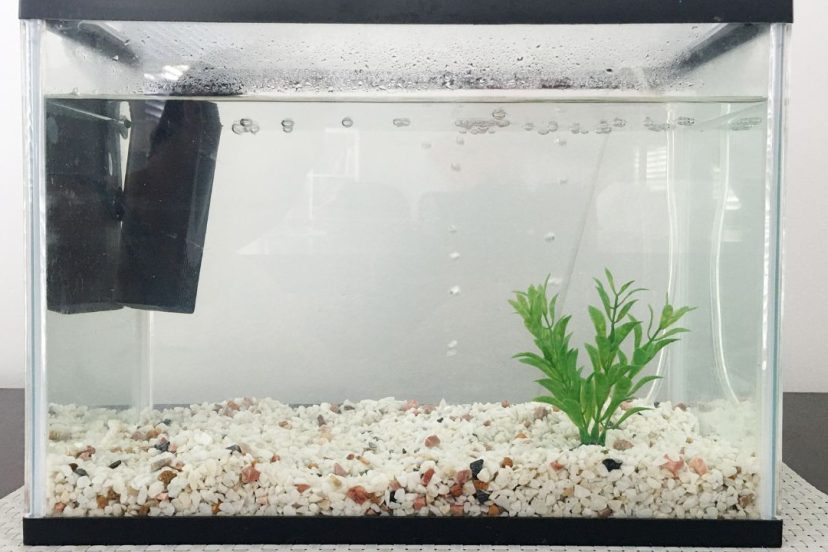
The first step to resealing your aquarium is to remove all the water from your tank. Make sure to remove your fish and any decorations before emptying the tank. You can use a fishnet to catch the fish and a bucket for transferring the water.
Step 2: Clean The Aquarium Glass Thoroughly – (How To Reseal an Aquarium)
After emptying the tank, it’s crucial to clean both the inside and the outside of the tank glass surface. Make sure to remove all the old silicone sealant from the edges of the glass with a scraper or razor blade. Ensure to clean the surface with rubbing alcohol or vinegar to remove all the impurities. This makes the next step of resealing easier.
Step 3: Applying The New Silicone Sealant – (How To Reseal an Aquarium)
Once the glass is thoroughly clean, you can start applying the new silicone sealant. Ensure to buy an aquarium-safe sealant from a pet store. Use a caulking gun to apply the silicone to the edges of the glass. Remember not to apply too much at once, or it’ll smooch out of the edges of the glass.
Step 4: Smoothing Out The Silicone – (How To Reseal an Aquarium)
After applying the silicone sealant with a caulking gun, use a silicone smoothing tool or a wooden stick to smoothen out the silicone. This ensures that the silicone is evenly distributed and fills any gaps that might cause future leaks.
Step 5: Let The Silicone Cure – (How To Reseal an Aquarium)
Finally, allow the silicone to cure completely for at least 24 hours. This gives the silicone time to harden and stick adequately to the glass surface. Also, ensure that the tank is in good condition, and you can refill it with water after the curing process.
Frequently Asked Questions
How can I prevent future aquarium leaks?
To prevent future leaks, ensure that you maintain your aquarium and regularly check its condition. Also, avoid placing your tank near heat sources or placing heavy decorations that might damage the glass surface.
What do I do if I don’t know how to remove the old silicone on the aquarium?
You can use a silicone removal solution to dissolve the old silicone and clean it away easily.
Can I use any silicone to reseal my fish aquarium?
No, only use silicone that is aquarium safe. Aquarium silicones are specially formulated to bond strongly with glass surfaces without affecting your fish.
Can I reseal my aquarium with the fish in it?
No, it’s essential to remove your fish and all decorations before resealing your aquarium. Resealing can create toxins that are harmful to your fish.
How do I know if my aquarium is leaking?
Keep an eye out for puddles or wet floors around your aquarium, or if the water level in the tank is gradually decreasing. Also, check for cracks or visible gaps around the edges of the glass.
Consclusion
Aquarium leaks can be a significant problem for both your fish and your home. By following my step-by-step guide on how to reseal your fish aquarium, you can ensure that your tank is well maintained and your fish can thrive in a healthy environment. Remember to monitor your aquarium regularly and perform regular maintenance to prevent future leaks.


